Many of us grew up hearing hot tools must be avoided at all costs to get our curls to their healthiest possible state. But it is possible to use heat on natural hair without damage—and of all the heat styling tool options out there, blow drying can be the tenderest on your tresses.
Not only can adding a little heat to your curly hair care routine can help you get major volume fast, but it’s a tried-and-true styling tool for turning up the heat on your glorious natural crown’s look du jour.
In this guide, we’re going to tell you exactly how to blow dry curly hair & the curly hair products & tools you need to do it without the damage.
How to Prep Your Curls for Heat Styling
Yes, it’s true: too much heat on unprotected strands can wreak havoc on your hair. But that doesn’t mean you’ve got to throw out your hot tools & air dry forevermore.
Blow drying curly hair can be a fantastic styling technique—so long as it’s done with care.
Prepping for a damage-free blow dry begins in the shower, as you should only heat-treat curly hair types that've been freshly washed & prepped.1 Here’s how to get your hair ready to meet the heat:1
-
Wash your hair with a gentle, curl-friendly shampoo & conditioner, such as PATTERN’s Hydration Shampoo and Medium Conditioner. Avoid using products that contain harsh sulfates (think SLS & SLES), as these can strip away natural oils.
Many curlies & coilies find that a co-wash is the best choice to maximize moisture & avoid drying out the hair & scalp, but you can do whatever works best for your strands.
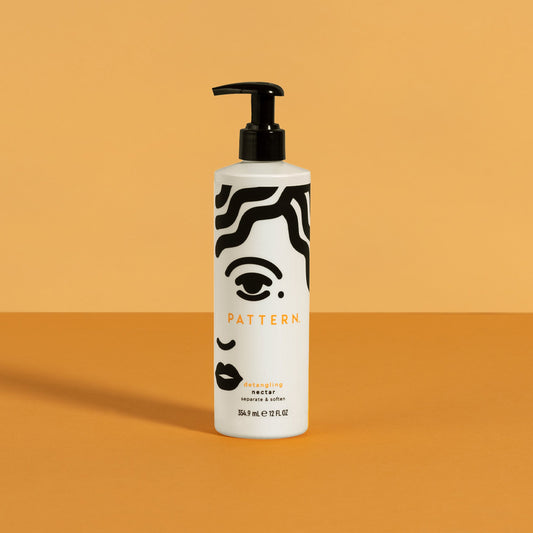
- Once your hair is clean, apply a leave-in conditioner or detangling product, such as our Detangling Nectar. You’re going to layer on heat protecting products, but this is your starting point for shielding hair from heat damage. A good leave-in or detangler will also make curls easier to style.
- Silky smooth blow dried natural hairstyles are easiest to achieve once your hair has been sufficiently detangled. While your strands are still very wet, use our Wide Tooth Comb to gently coax away any knots. Work from the ends up to the roots. Remember, hair is at its most delicate when it’s wet, so don’t tug or pull as this can cause breakage.
- Finally, apply a heat protectant spray or serum to your hair before beginning the blow drying process. If you’re wondering, “does heat protectant work?,” the answer is absolutely. Using a quality heat protectant spray, such as PATTERN’s Heat Protectant, will help create a barrier between your strands and your hot tools. Be sure to use enough product to lovingly coat every strand.
How to Blow Dry Natural Hair, Step-By-Step
Now that you’ve done your shower prep, it’s time to start turning up the heat. Follow these steps to blow-dry your locks safely and gently:
- Squeeze out excess water with a cloth or PATTERN’s Microfiber Towel. Skip those thick terry cloth bath towels—they’ll be too rough & may cause damage to your hair shaft. Moreover, avoid scrubbing your hair to dry it. If you’re aiming to stretch out your curls, you can gently wring out longer hair. For more curl definition, use your microfiber cloth in a cupping motion (aka, “plopping” or “micro-plopping”).2
- Divide your hair into sections using clips or elastic hair bands. This will make it easier to work with small sections of hair at a time, keeping wet hair from tangling as you work.3
- Start by using your blow dryer on a medium or low heat setting. Avoid the high heat setting unless you’re very confident about your hair’s resilience. In general, avoid using high heat for longer than 30 seconds to a minute.4
- Keep the blow dryer moving slowly & evenly. Hold it as far from your hair as you comfortably can. The closer it gets to your hair, the more heat you’ll apply directly to the hair shaft, which can cause damage to your cuticle over time.4
- Start at the roots & work down the length of your hair. You can use a comb attachment or a roller brush to help smooth & stretch each section. Never aim the hair dryer upward since this can lift the hair’s cuticle. Always aim down from the roots toward the ends.
- For maximum volume, flip your head upside down when it’s getting close to dry. Aim the air stream at your roots & use your cool setting to seal in a bit of extra lift.
- Finish blowing out your whole head using the cool setting. Cooling the hair strands helps smooth & seal the cuticle, plus it helps hold any natural hairstyle you’re creating later.
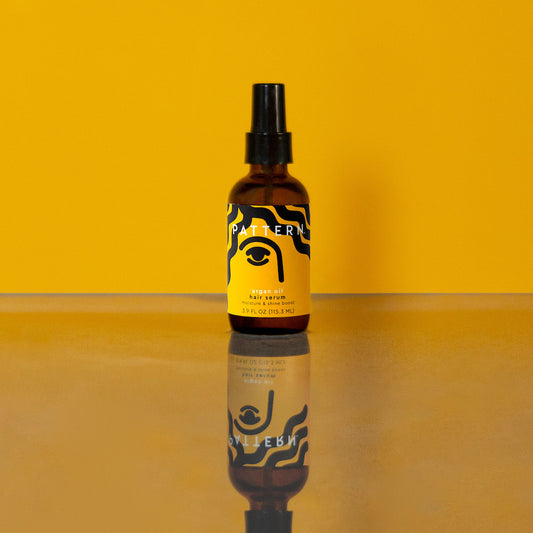
- Wondering how to make hair shiny? Once your hair is completely dry, spritz our Shine Spray or apply a small amount of our Argan Oil Blend or Jojoba Oil Blend to your hands & run them through your strands. This will help to add shine & moisture to your newly blown-out hair.
FAQs About Blow-Drying Natural Hair
When you’re trying to build up your hair’s natural strength & beauty, you don’t want to take any chances with heat styling until you’re confident you can do it without damage. With that in mind, we’ve put together this FAQ to answer your most burning questions about how to blow dry natural hair safely.
How Often Can I Blow Dry Without Damaging My Hair?
The answer to this question depends on several factors unique to you & your hair. You’ll want to take into account:
- Your hair’s natural texture & porosity
- The climate you live in (humid or dry)
- Whether your hair is recovering from prior damage (whether due to hot tools or chemical treatments like coloring)
Typically, stylists recommend blow drying hair once a week at most. If you notice any existing signs of heat damage, like breakage, “thirsty” hair, or curls that have lost their ability to bounce back, it may be time to take a break from the heat.5
Is It Better to Blow Dry or Air Dry Natural Hair?
Air drying isn’t necessarily damage-free, especially if your hair dries slowly. One study found that prolonged contact with water (which is caused by air drying) resulted in more damage to hair than blow drying gently with low heat.4
Ultimately, choosing whether to blow dry or air dry will depend on your hair texture & porosity:
- If you have high porosity hair that soaks up water like a sponge, you may find that air drying simply takes too long & makes your wash day routine too time-consuming
- If you have thinner, more delicate curls that dry quickly, you may find that air drying most days can be more efficient & less likely to yield damage
For most people, a mix of both no-heat & hot drying methods can be the best answer. You can blow dry for a few minutes to add volume & reduce drying time, then let air drying do the rest. Or, alternate air drying & blow drying hair on each wash day.
Why Are My Ends Frizzy After Blow Drying?
If your ends are a little too frizz-prone for your liking post-blow dry, it may be because they are damaged, dry, or in need of a protein fix.
To lovingly smooth out flyaways, you can try:
- Using a deep-conditioning protein treatment or leave-in conditioner to hydrate your strands & strengthen the cuticle
- Pairing a diffuser for curly hair attachment with your blow dryer, which can help minimize frizz.
- Getting a haircut! Often, frizzy ends are just a sign that it’s time for a trim
But don’t forget—frizz is not the enemy! The health of your hair is what’s important. If you’re not getting breakage or split ends, there’s no harm in letting a little frizz bring some volume while you’re busy bringing the heat to your next hair look.
What Are the Best Attachments to Use When Blow Drying Natural Hair?
The best attachments to use depends on what you want to achieve with your finished style. Consider how you plan to style your hair once it's dry: Are you going for defined curls? A smooth updo like a bun or a twist? A max-volume blowout that lasts for a week or more?
Here’s how each attachment can help achieve your desired look:
- Diffuser – This large, cup-shaped attachment helps distribute the heat evenly & reduce frizz. Used properly, it’s great for volumized, defined curls. Cupping your curls from the ends towards the scalp encourages tighter, bouncier curl formations.
- Concentrator – This attachment helps direct airflow to give you more precision when styling smaller sections of hair. Use it with your paddle brush or round brush to stretch your curls into a sleek, smooth look.
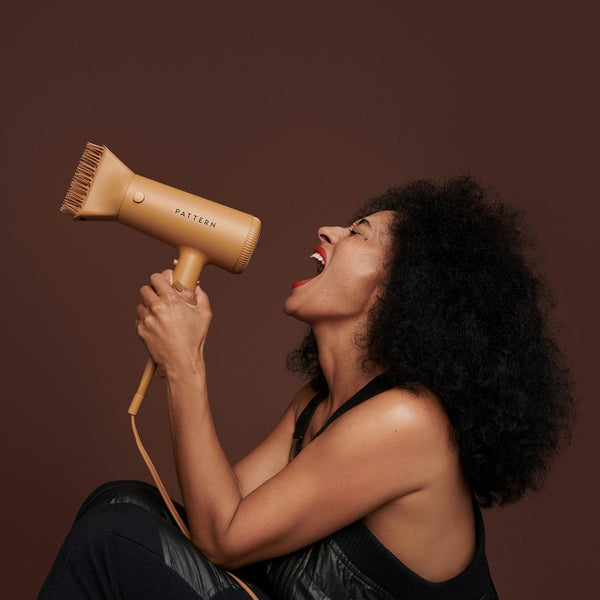
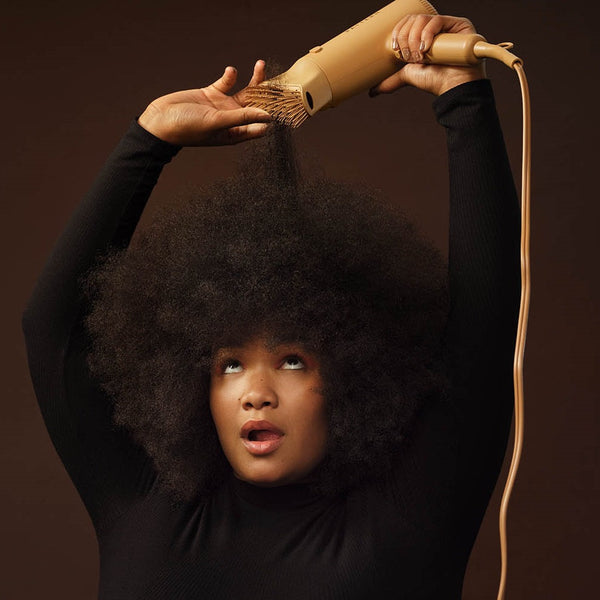
- Comb & brush attachments – Many blow dryers, such as PATTERN’s Blow Dryer, include comb & brush attachments that distribute heat through your hair while detangling & separating strands. A comb attachment is best for stretched, defined curls. It’s also the easiest attachment for beginners. A brush will create more volume & less individual curl definition in your finished look, so it’s best for straighter styles.
Nourish Your Natural Hair With PATTERN
At PATTERN, we want to help everyone reach their styling goals while taking their natural hair to new heights of health & strength. Whether you’re seeking to speed up your wash day routine, nourish recovering strands, or unlock a whole new world of styling options, our Heat Collection means you’ll never have to sacrifice the health of your crown doing it.
The hairstyle you choose may change from day to day—or hour to hour if that’s what you’re feeling! But no matter the style you’re chasing this week, it’s our mission to empower you with styling products that’ll cherish your curls for life.
Sources:
- Buddemeyer, Ruby. "Natural hair blowouts: how to easily blow-dry your hair without damage." Cosmopolitan. 12 November, 2020. https://www.cosmopolitan.com/style-beauty/beauty/a34635076/how-to-do-natural-hair-blow-out/
- Lambert, Bianca. "Your Complete Guide to Hair Plopping for Perfect Curls." Byrdie. Updated 6 July, 2022. https://www.byrdie.com/plopping-4770237
- Boakye, Omenaa. "What to know before blowing out afro-textured hair." InStyle. 19 May, 2022. https://www.instyle.com/hair/all-natural/blowout-afro-textured-haircare
- Lee, Yoonhee et al. “Hair shaft damage from heat and drying time of hair dryer.” Annals of dermatology vol. 23,4 (2011): 455-62. doi:10.5021/ad.2011.23.4.455
- "The 5 Telltale Signs Of Heat Damage." Naturally Curly. https://www.naturallycurly.com/curlreading/transitioning/5-telltale-signs-of-heat-damage